If you're not familiar with iHerb.com, they're a great company that sells over
19,000 natural products and offers UPS Ground Shipping for free to orders over $40.00. The best thing about them is that if you use my link or referral code, you'll get $5 off with your first order! In case you don't use the link, my referral code is "LEP856"
iHerb sells two types of kelp noodles for only $2.79 a bag:
Sea Tangle Kelp Noodles
Kelp Noodles with Organic Green Tea

Kelp noodles are mineral-rich and totally raw, so you can eat them as is- they're crunchy and tasty. You just rinse them and toss with whatever you want. Or you can make them softer and enjoy as a regular noodle. To soften them, you can do a variety of things: either soak in lemon juice for about 10 minutes and rinse, dehydrate for about 20 minutes, or mix them with any sauce you cook and let it sit for a few minutes. The sauce will soften the noodles nicely.
iHerb sells two types of kelp noodles for only $2.79 a bag:
Sea Tangle Kelp Noodles
Kelp Noodles with Organic Green Tea
Kelp noodles are mineral-rich and totally raw, so you can eat them as is- they're crunchy and tasty. You just rinse them and toss with whatever you want. Or you can make them softer and enjoy as a regular noodle. To soften them, you can do a variety of things: either soak in lemon juice for about 10 minutes and rinse, dehydrate for about 20 minutes, or mix them with any sauce you cook and let it sit for a few minutes. The sauce will soften the noodles nicely.

This month's 'Go Ahead Honey, it's Gluten Free" is the Chinese Lantern Festival, hosted by The Daily Dietribe, and this is my submission.

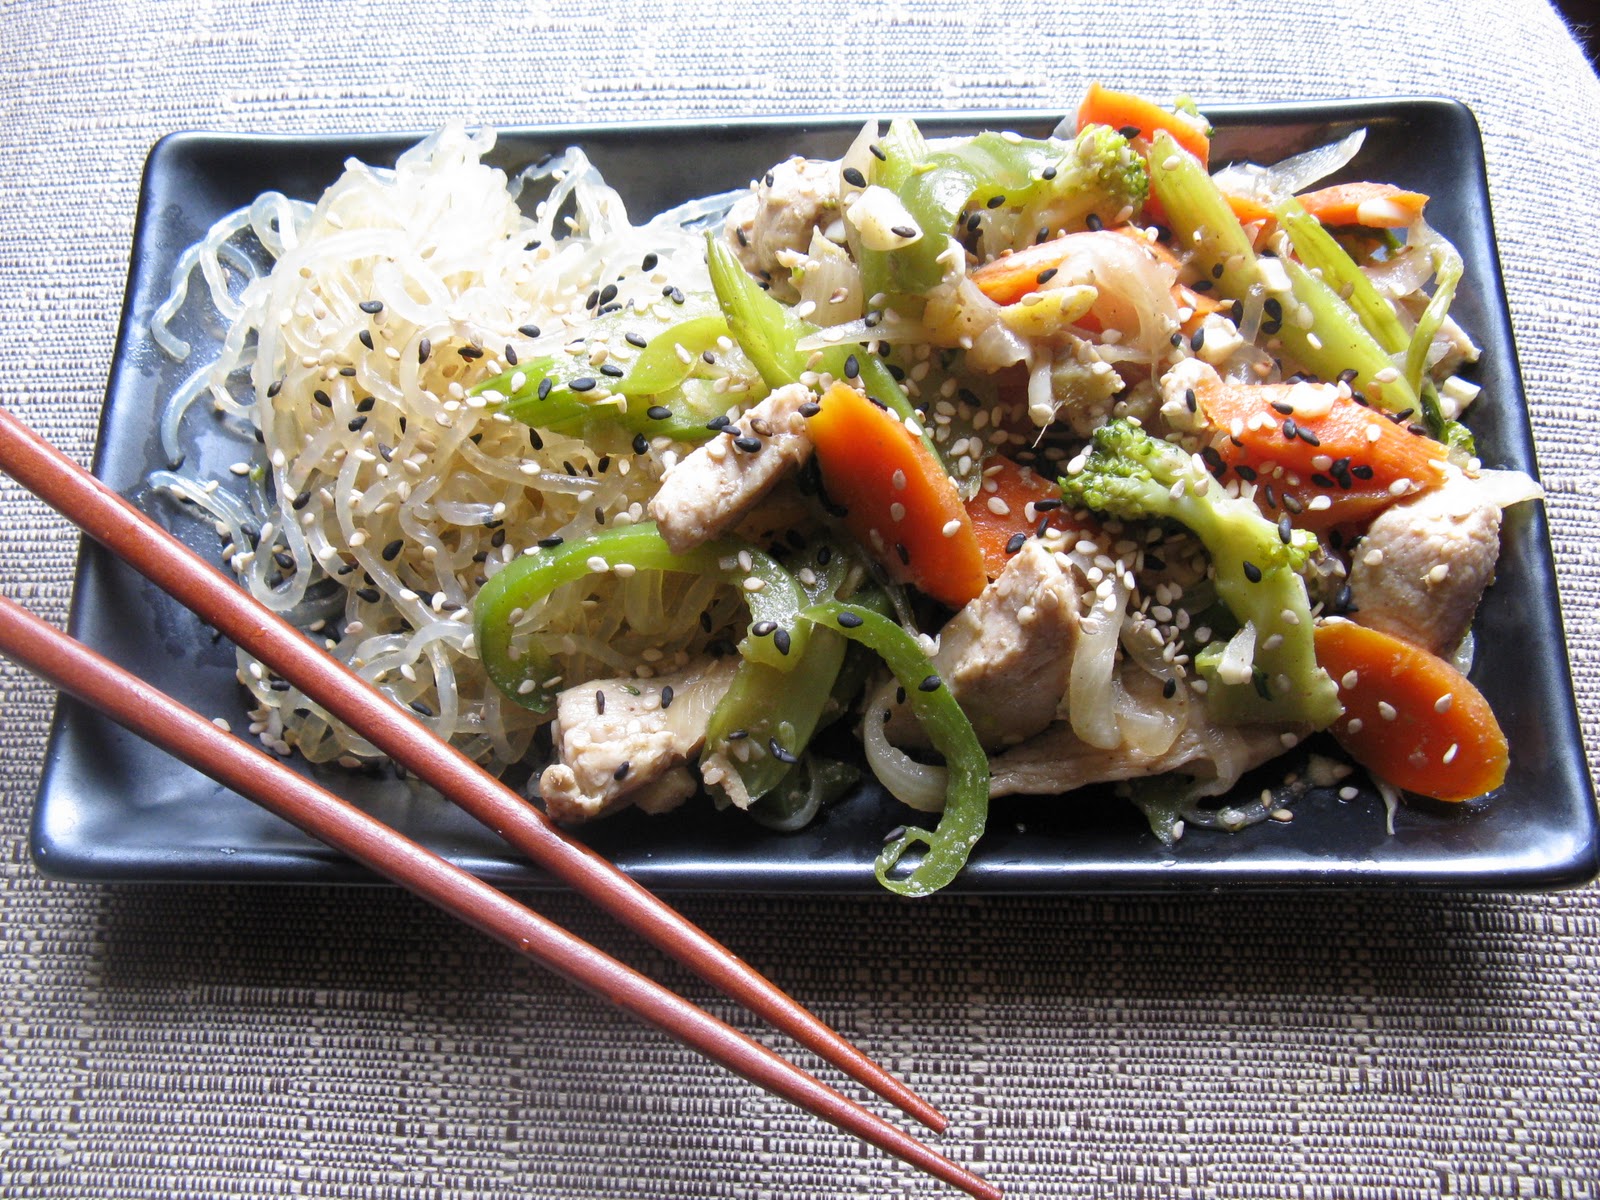
Ginger and Sesame Stir Fry with Kelp Noodles
(gluten free, soy free, dairy free, grain free)
Veggies
1/2 lb. broccoli, cut into florets
6 carrots, sliced
3 stalks celery, sliced
2 bell peppers, sliced
2 medium yellow onions, sliced
8 medium cloves garlic, chopped
3 Tbsp finely chopped ginger (or grated if you are opposed to ginger chunks)
Sauce
3 Tbsp sesame oil
6 Tbsp Coconut Aminos
1 tsp sea salt
1/2 tsp Chinese five spice powder
1/8 tsp chili pepper (or more if you like it spicier)
1 lb organic chicken breast, sliced (optional)
4 Tbsp coconut oil
sesame seeds to taste
2 tsp corn starch (or other starch) melted in a bit of cold water (optional)
1 package Sea Tangle Kelp Noodles
Mix your sauce ingredients in a small bowl and set aside.
Heat 2 Tbsp coconut oil in wok. Add 1 of your sliced onion and cook for a minute. Add 1/2 your chopped garlic and 1/2 your chopped ginger. Stir for another minute, careful not to let them burn. Add all of your veggies except for the bell pepper and mix well in the wok. Add a few spoons of the sauce to coat the veggies while they cook. As the sauce gets absorbed, continue to add a few spoons while it cooks, just don't let it form a pool on the bottom of the wok until you've added about 1/2 of the sauce. Cook until the veggies are soft but still firm and set aside.
In the same (now empty) wok, heat the rest of your coconut oil and add the other onion. Cook until soft, then add the rest of your garlic and ginger. Cook for a minute, then add your chicken and a few spoons of sauce. Mix well and continue to cook until chicken is almost done. Add the rest of the sauce and the veggies to the chicken and mix well. If you want the noodles mixed with the rest of the dish, add them in with the veggies so that they can become soft while they cook. If you would like your sauce a bit thicker and coating the food, add the melted cornstarch now and stir well. Cook for a few minutes, serve, and sprinkle sesame seeds on top. If you are enjoying the noodles separately, place them on the bottom of your bowl and cover with the stir fry. Enjoy!
Pin It Now!